Step by step guide for Tunnelblick installation and configuration for MacOS:
1. Download Go to tunnelblick.net to download the latest version. Please note that Tunnelblick 3.7 installers will work only on Intel-based systems with versions of MacOS not lower than 10.7.5.
https://tunnelblick.net/downloads.html We recommend to click the latest stable version of software. If you have MacOS older than 10.7.5 please choose the deprecated download page: https://tunnelblick.net/downloadsDeprecated.html
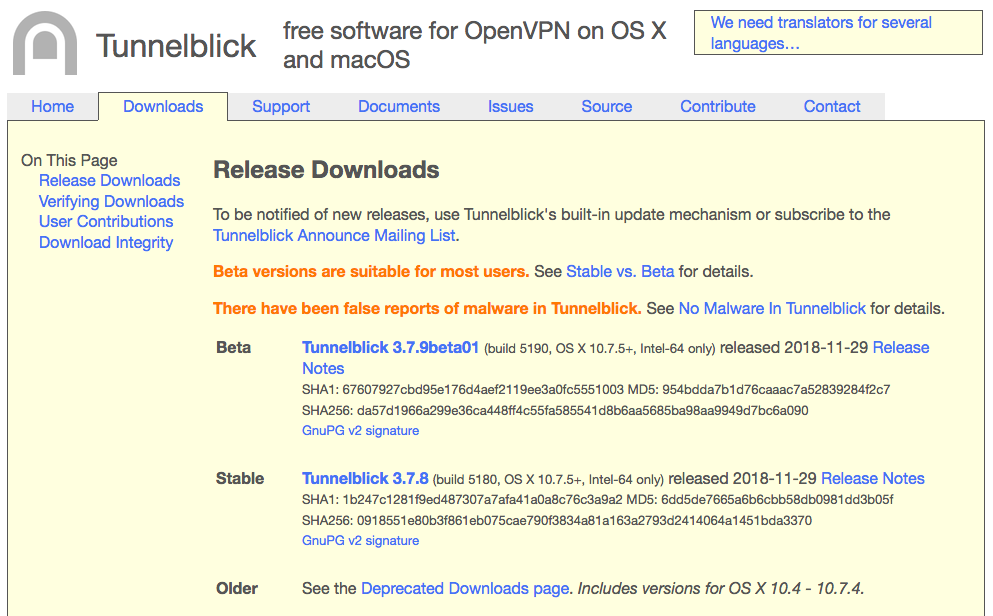

2. Install Tunnelblick software:
2.a. Mount the downloaded .dmg file. New modal window will appears with Tunnelblick icon in it. Please double click the application icon.

2.b. When warning window pops up, click “Open”.

2.c. Enter your user password to install the application.

2.d. When application is installed a Tunnelblick icon appear in the tray at up right part of the screen.

3. Apply configuration to Tunnelblick.
3.a. Download OpenVPN config file “iptp.conf”. You can find it attached to the e-mail sent to you by IPTP.
3.b. Click on the Tunnelblick icon up right and choose “VPN Details”
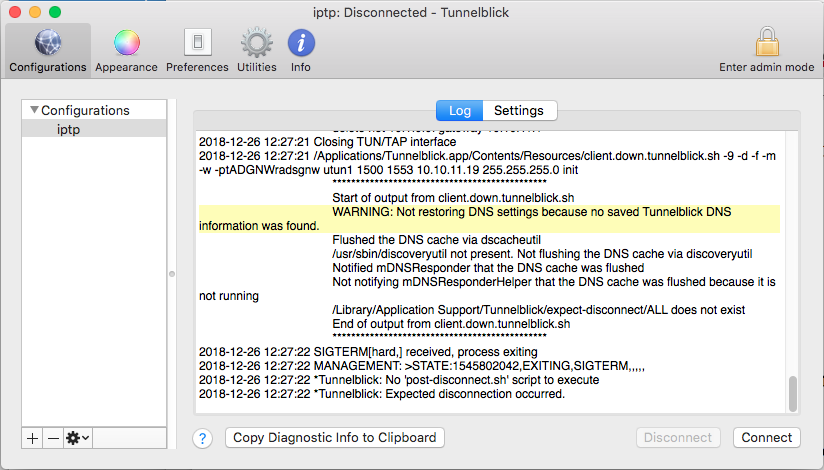
3.c. Drag and drop “iptp.conf” into configurations drawler.
4. Connect to VPN service.
4.a. When configuration is applied, click on the Tunnelblick tray icon and choose “Connect IPTP”

4.b. During the VPN connection setup OpenVPN will ask for password provided to you by e-mail. Please insert it. In case the password is inserted correctly, the connection will be established in a few seconds.
5. Tunnelblick session is established. VPN client tray icon color will change from grey to black. A private IP address from IPTP has been assigned to you. You can now access your devices within our network.
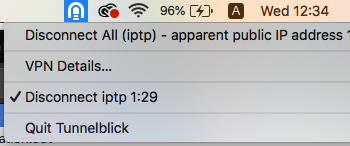
6. Check VPN connection.
To check that the OpenVPN connection is established correctly, please run the ping utility: ping 10.12.4.254
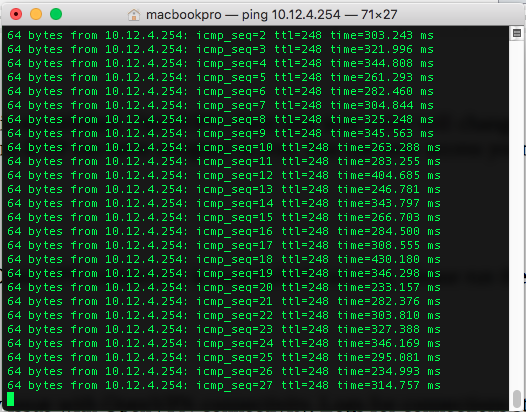
7. Troubleshooting.
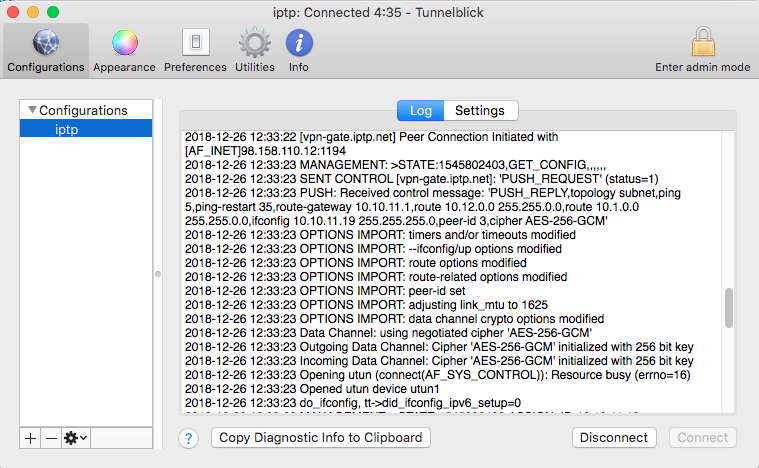
In case there is any issue with VPN connectivity. Click on the tray icon and choose “VPN Details” and than click “Copy Diagnostic Info to Clipboard”. Please share copied info with IPTP Networks technical team.
Step by step guide for OpenVPN installation and configuration for Windows:
1. Go to OpenVPN.net to download the latest version. Please note that OpenVPN 2.4 installers will not work on Windows XP or earlier Windows versions.
https://openvpn.net/community-downloads/ Scroll down to find OpenVPN Windows Installer (NSIS) and download it. Choose the one with the .exe file extension.

2. Install OpenVPN client software:
2.a. Open location where file was downloaded. Right click on OpenVPN installer and left click on “Run as administrator” tab from context menu. It is very important to run installer as administrator, otherwise it may not install properly.

2.b. When prompted, click “Yes” to allow the app to make changes to your device.

2.c. Click next on Setup Wizard.

2.d. Agree to license agreement.

2.e. Click Next to choose installation of default components.

2.f. Click “Install” to install OpenVPN client in default location (C:Program FilesOpenVPN)

2.g. If prompted, click Install to install other software that comes with OpenVPN.

2.h. Click “Next” button when installation is completed.

2.i. Check “Show ReadMe” (optional) and click on “Finish”.

3. Copy configuration file to OpenVPN config directory.
3.a. Review already opened ReadMe.txt File to see location where OpenVPN config is (optional). Config directory is usually in C:Program FilesOpenVPNconfig.
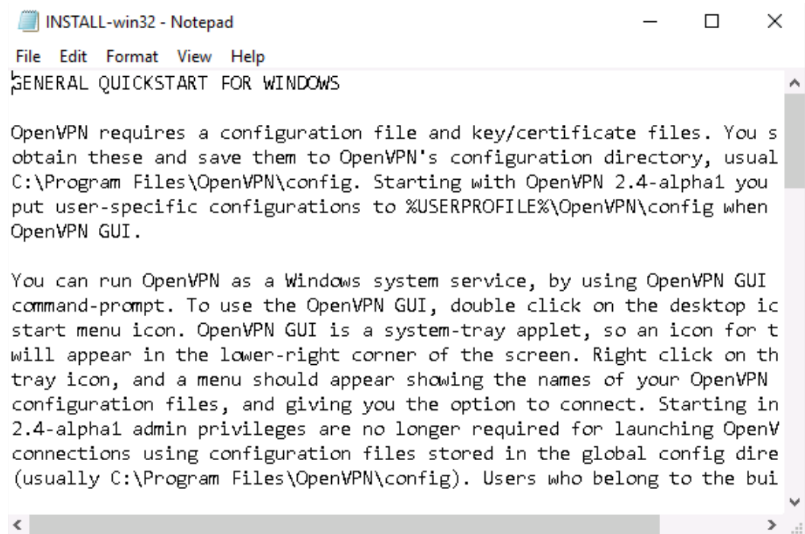
3.b. Download OpenVPN config file “iptp.ovpn” into OpenVPN Config Directory. You can find it attached to the e-mail sent to you by IPTP Networks team.

4. Connect to OpenVPN service.
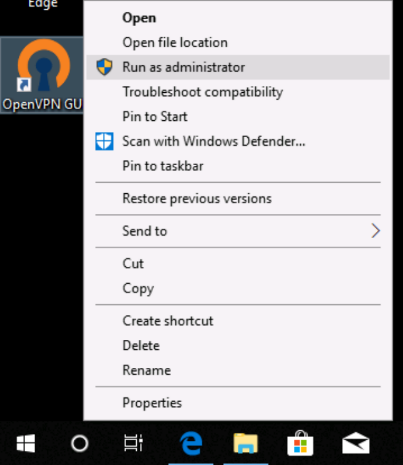
4.a. Run OpenVPN GUI with administrator privileges (right-click on the OpenVPN GUI icon and choose “Run as administrator” from context menu). It is very important to run it as administrator, otherwise it may not run properly.
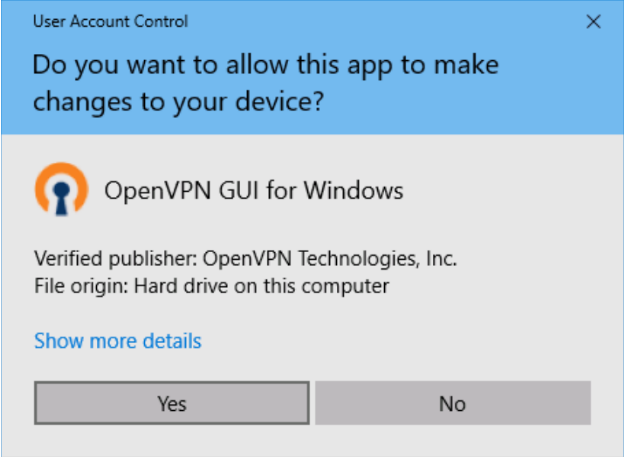
4.b. When prompted, click on “Yes” to allow OpenVPN GUI to make changes to your device.
4.c. In system tray (right-bottom corner of screen), please find the OpenVPN icon (a monitor with a padlock).
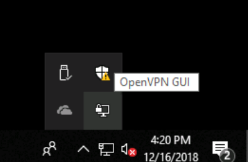
4.d. Right-click on it, and choose ‘Connect’ from context menu.

4.e. During the VPN connection setup OpenVPN will ask for password provided to you by e-mail. Please insert it. In case the password is inserted correctly, the connection will be established in a few seconds.
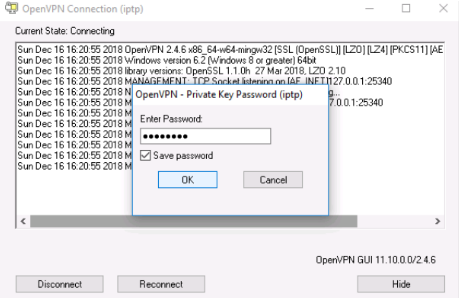
5. OpenVPN session is established.
OpenVPN client icon color will change to green. A private IP address from IPTP Networks has been assigned to you. You can now access your devices within our network.

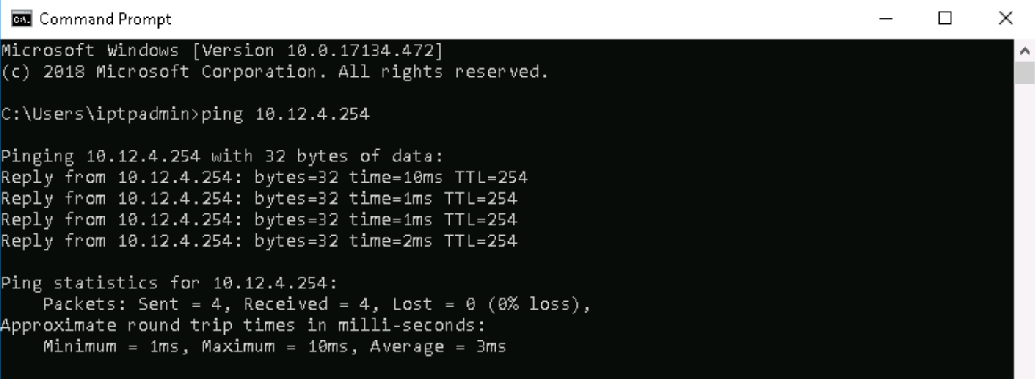
6. Check VPN connection.
To check that the OpenVPN connection is established correctly, please run the ping utility: ping 10.12.4.254
7. Troubleshooting.
In case there is any issue with OpenVPN connectivity. Logs for connections started by the GUI are kept in USERPROFILEOpenVPNlog. Please share them with IPTP technical team.

For Linux
1) Install OpenVPN client software
Execute the following command to install OpenVPN according to your Operating System
For RedHat/Fedora/CentOS,
# sudo dnf install openvpn
For Ubuntu/Debian
# sudo apt install openvpn
2) Connect to OpenVPN service
2.1) Execute the following command to establish the OpenVPN conection.
# sudo openvpn path_to_file/iptp.ovpn
2.2) After executing the above command, you will need to enter the Private Key Password. The password is provided to you in the email together with the OpenVPN certificate

2.3) Once you enter the password, the VPN tunnel will start initialing. Once the VPN tunnel initialized, you will be able to see the following message.

3) Verify the connection
3.1) Execute the following command and you will observe an additional interface is added to the system.
# ip -a | grep tun

3.2) Using ping command to test the connection
# ping -c 5 10.10.11.4

4) Troubleshooting
If the OpenVPN connection is fail, you will be not able to see the message in 2.3) and generating other message(Refer to the following image as an example).
Please share them to IPTP technical team.

Additional Note: You may need root privilege to execute some command mentioned in this article. Contact your system administrator if you do not have such privilege.
